
Neurographic art is a simple, calming way to draw when you want to quiet the mind, work with emotions, or enter a more meditative state through art. You do not need to be good at drawing. You do not need to know perspective, anatomy, shading, composition, or any traditional art rules.
You only need a piece of paper, a pen, a few minutes of attention, and a willingness to let the line move.
In this neurographic art tutorial, you will learn what neurographic art is, how to do it step by step, what materials to use, and how to turn the process into a gentle meditation practice.
What Is Neurographic Art?
Neurographic art is a form of abstract drawing built from free-flowing lines, rounded intersections, organic shapes, and often color. It is closely associated with Neurographica, a method developed by Pavel Piskarev, where drawing is used as a structured creative process.
In everyday art practice, neurographic art is often used as a meditative drawing technique. You begin with a line that moves freely across the page. The line may represent a feeling, a thought, a problem, a wish, or simply the movement of your hand. Then you soften the drawing by rounding the sharp corners where lines meet or cross.
This is one of the most important parts of the practice.
The sharp crossings become smooth. The tense angles become soft. The drawing slowly changes from chaotic to connected.
That is why many people experience neurographic art as calming. The drawing gives the mind something simple to follow, while the hand repeats slow, gentle movements. It is not about making a perfect image. It is about entering a process.
Why Neurographic Art Works Well as Meditation
Many people find seated meditation difficult. The mind wanders. The body becomes restless. Silence can feel too empty.
Neurographic art offers another way in.
Instead of trying to stop thinking, you give your attention a quiet task. You follow the line. You notice the intersections. You round the corners. You choose colors. You breathe. You stay with the page.
The process works because it is simple enough to repeat, but engaging enough to hold your attention.
You are not trying to draw something realistic. You are not trying to impress anyone. You are simply creating a visual path for your thoughts to settle.
This makes neurographic art especially useful for beginners, sensitive people, creative blocks, journaling, art classes, and moments when you need a peaceful transition from stress into focus.
What You Need to Begin
You can start with very simple materials.
Use:
A sheet of paper
A black pen, fineliner, marker, or felt-tip pen
Colored pencils, markers, crayons, or watercolor
A quiet place to sit
10 to 30 minutes
For your first drawing, avoid expensive materials. Neurographic art for beginners works best when you do not feel precious about the result. Ordinary printer paper and a simple black pen are enough.
If you want to use watercolor, choose thicker paper. Watercolor can make the finished neurographic art feel soft, atmospheric, and more meditative, but it is not necessary.
Neurographic Art Step by Step
This is a simple beginner-friendly method.
Step 1: Choose an Intention
Before you draw, pause for a moment.
Ask yourself:
What am I bringing to the page today?
It could be a feeling, a question, a goal, a worry, or a word.
For example:
Calm
Clarity
A new beginning
Creative confidence
Letting go
More energy
A difficult decision
A problem I cannot solve yet
Do not overthink this. The intention is not a magic spell. It is simply a way to give the drawing a direction.
You can also skip the intention and draw only for relaxation.
Step 2: Draw the First Neurographic Line
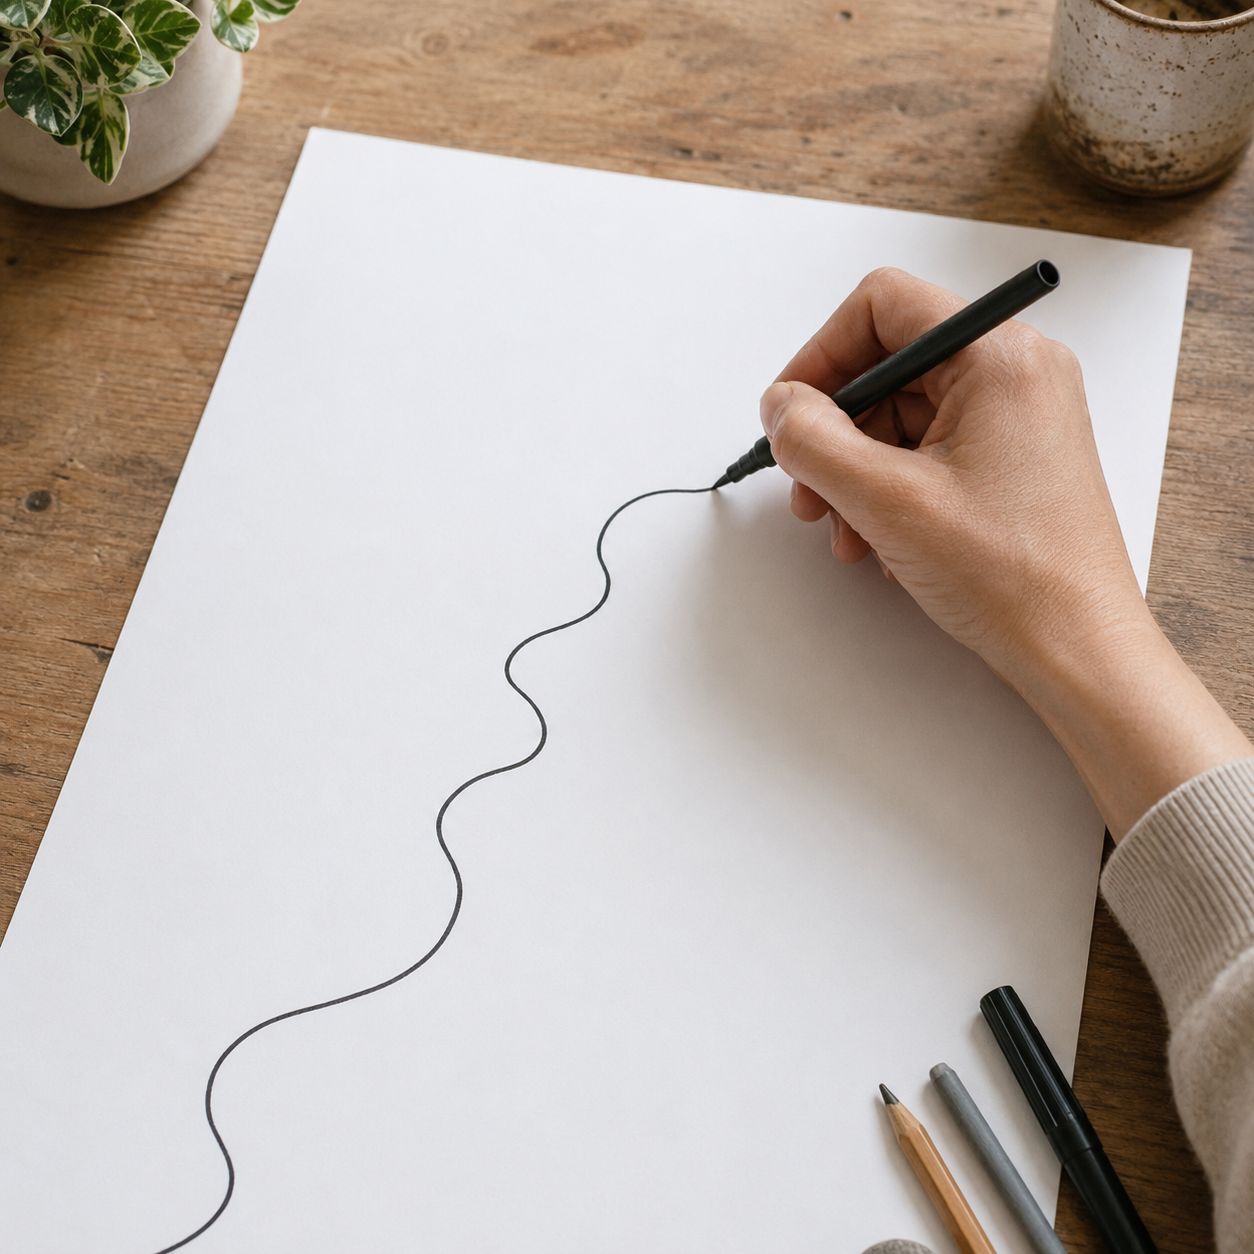
Place your pen on the paper.
Now draw one long, free-flowing line across the page.
Let it travel. Let it curve. Let it cross itself. Let it move from one edge of the paper to another, or loop around the page.
Try not to make a pretty pattern on purpose. Try not to control it too much. The line should feel organic, unpredictable, and alive.
- Do not draw what you already know.
- Let the line surprise you.
- It should not be a flower, a face, a symbol, or a decorative border. It should be a moving line.
Step 3: Add More Lines
Now add a few more lines.
Some can travel across the whole page. Others can be shorter. Let them cross the first line. Let them divide the paper into smaller areas.
Stop before the page becomes too crowded.
For a beginner, 3 to 7 lines are often enough.
You now have the foundation of your neurographic art drawing.
Step 4: Round the Intersections
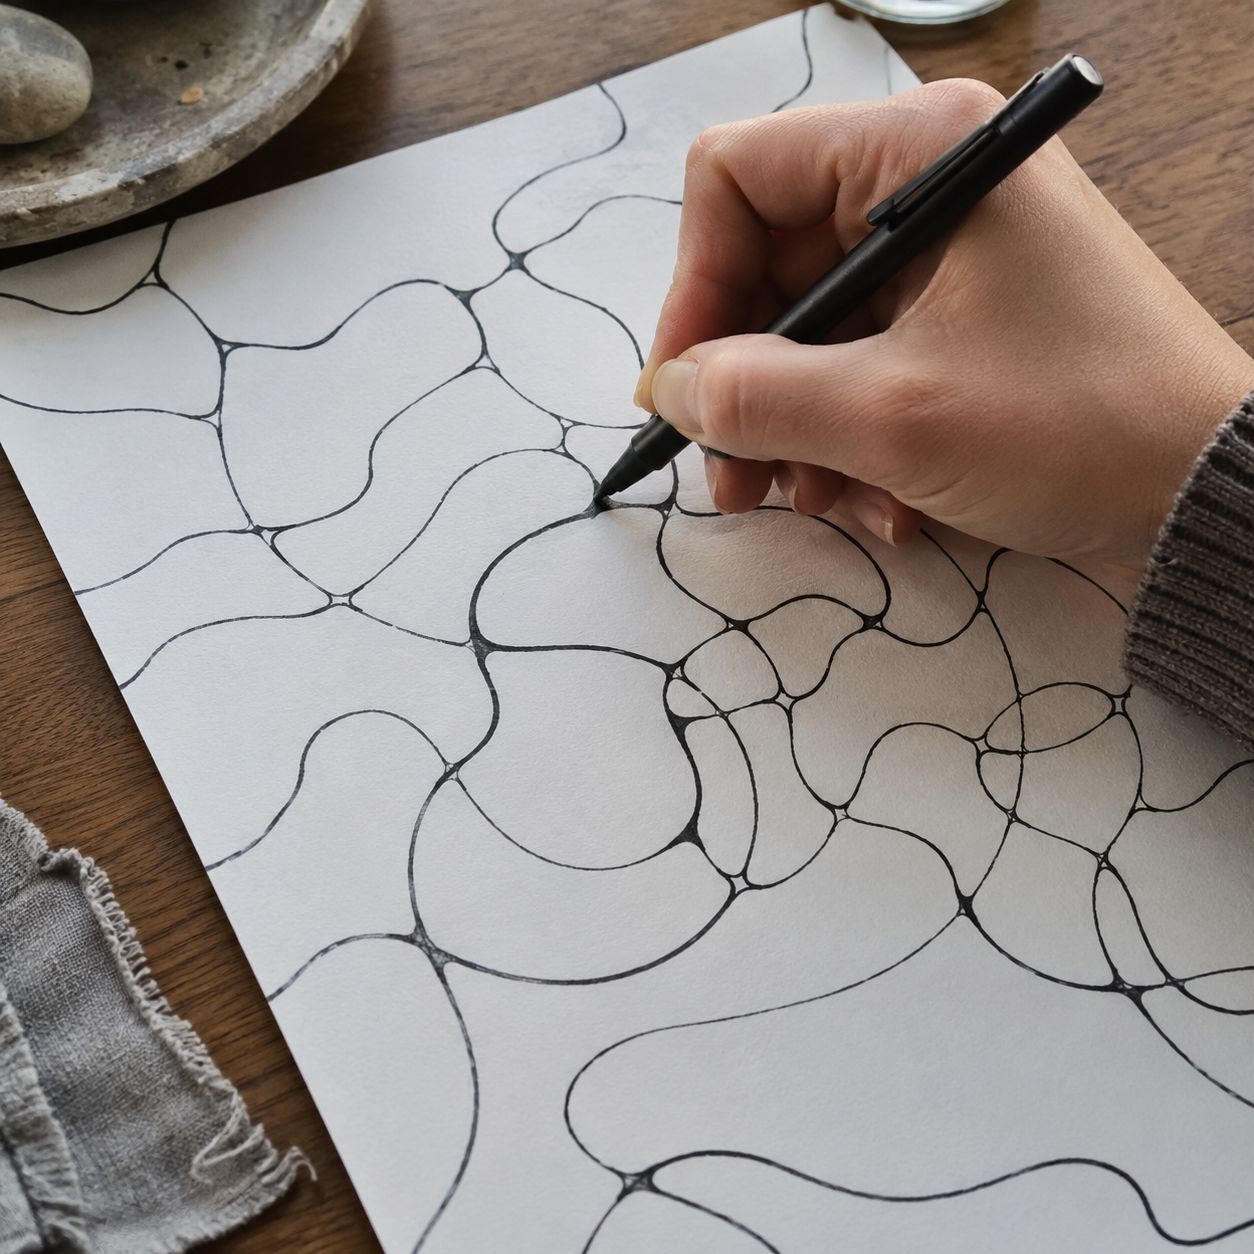
This is the central step.
Look at every place where lines cross, meet, or create a sharp angle.
Instead of leaving the angle pointed, round it off. Add small curved shapes that soften the crossing. Fill in the little triangular spaces. Make the transitions smooth.
Work slowly.
This step can feel repetitive, but that is the point. The repetition becomes meditative. You are teaching the drawing to become softer and more connected.
As you round the intersections, the image begins to change. It becomes less like a scribble and more like an organic network.
You may notice that your breathing slows down.
Step 5: Thicken and Integrate the Lines
Once the intersections are rounded, you can begin to thicken parts of the lines.
Choose some sections and make them wider. Let one line flow into another. Make the drawing feel connected rather than broken.
Do not thicken every line equally. Let some areas be stronger and others stay delicate.
This creates rhythm.
The goal is not mechanical perfection. The goal is visual harmony.
Step 6: Add Shapes or Patterns
You can now add simple shapes if you want.
Circles work especially well in neurographic art because they echo the soft, rounded movement of the lines. You can also add small organic forms, dots, waves, leaves, or simple neurographic art patterns.
Keep the shapes gentle.
If you add new intersections, remember to round them too.
This is how the drawing keeps its calm, connected quality.
Step 7: Add Color
Color is optional, but it can change the emotional feeling of the drawing.
You can use:
Colored pencils for a soft, slow process
Markers for strong contrast
Watercolor for a gentle, flowing effect
Crayons for a loose and playful feeling
One color only for simplicity
Many colors for energy and movement

Do not color randomly at first. Pause and ask:
Which part of the drawing feels calm?
Which part feels active?
Which color does this drawing need?
Do I want contrast or harmony?
For a meditative practice, choose 2 to 4 colors and repeat them across the page.
You can color each shape separately, or let the color move across the lines like a transparent field.
Step 8: Sit With the Finished Drawing
When the drawing feels complete, stop.
Do not judge it immediately.
Place it in front of you and look at it quietly.

Ask yourself:
What changed while I was drawing?
Does the original feeling still feel the same?
Where does my eye want to rest?
What part of the drawing feels resolved?
What part still feels active?
You do not need a dramatic answer. Sometimes the shift is small. Sometimes the value of the practice is simply that you spent twenty minutes with your attention, your hand, and your breath.
That is enough.
Easy Neurographic Art Exercise for Beginners
Here is a simple exercise you can try today.
Write one word lightly on the back of the paper. Choose a word such as “calm”, “focus”, “trust”, “release”, or “courage”.
Turn the paper over.
Draw one free line across the page while thinking of the word.
Add 3 more lines.
Round every intersection.
Add 3 circles.
Round any new crossings.
Choose 3 colors.
Color slowly.
When you finish, write one sentence in a sketchbook:
“After drawing, I feel…”
This turns the drawing into both an art practice and a small self-reflection ritual.
Neurographic Art Ideas
Once you understand the basic steps, you can explore many variations.
Try these neurographic art ideas:
🌿 A drawing for stress relief
🧭 A drawing before making a decision
🌙 A drawing based on a dream
🌕 A drawing for the new moon or full moon
⚫ A black and white neurographic line art piece
🎨 A watercolor neurographic art background
🌸 A neurographic art flower
🦋 A neurographic art butterfly
👤 A portrait combined with neurographic lines
✍️ A zentangle and neurographic art combination
🙏 A gratitude drawing
✨ A drawing for creative confidence
🖌️ A drawing before writing, painting, or planning
You can also use neurographic art as a warm-up before another creative practice. It helps loosen the hand and quiet the inner critic.
Neurographic Art and Zentangle: What Is the Difference?
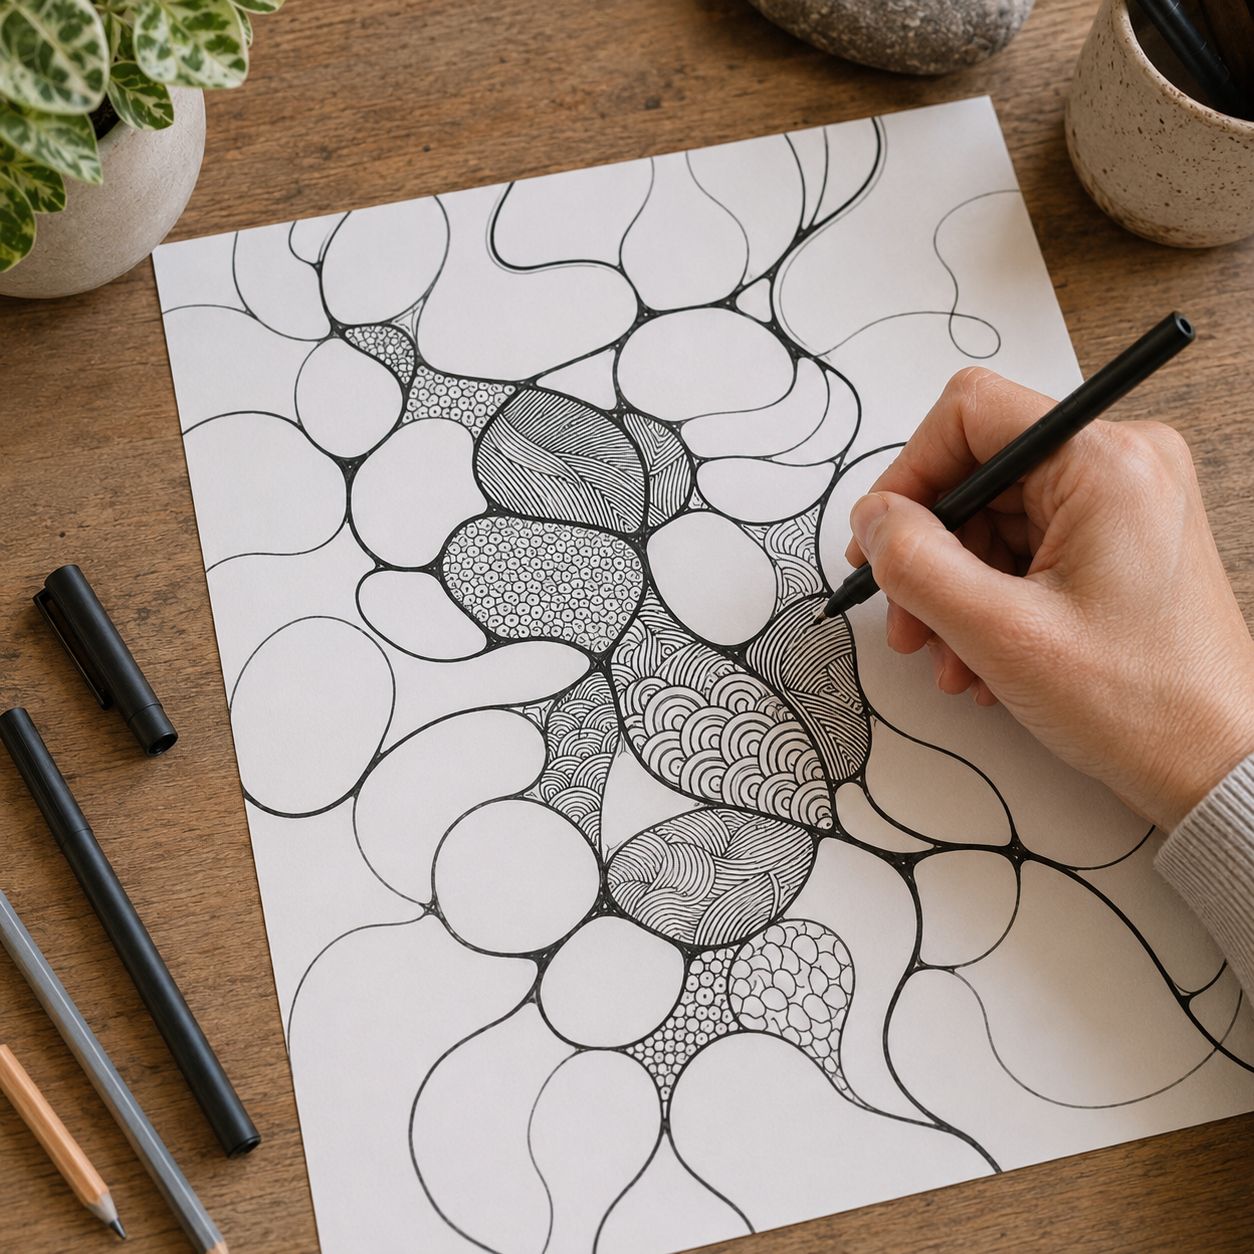
Neurographic art and Zentangle are often mentioned together because both are relaxing drawing practices that use repeated lines and patterns.
But they are not the same.
Zentangle usually uses structured pattern-making. You build an image from repeated decorative patterns, often inside small sections.
Neurographic art begins with a free, intuitive line and focuses on rounding intersections until the image feels organic and connected.
You can combine the two. For example, you can create a neurographic drawing first, then fill some of the spaces with Zentangle-inspired patterns.
This works well if you enjoy detail.
But if your goal is meditation, keep the pattern work simple. Too much decoration can pull you back into perfectionism.
Common Beginner Mistakes
The most common mistake is trying to make the drawing beautiful too early.
Neurographic art is a process. Beauty often appears later, after the lines have been softened and integrated.
Another mistake is rushing the rounding step. This is where much of the meditative effect happens. Move slowly. Let it take time.
A third mistake is using too many colors. If the drawing becomes visually noisy, return to fewer colors.
A fourth mistake is judging the drawing as if it were a traditional artwork. Neurographic art is not about realism. It is not about talent. It is not about proving that you can draw.
It is about attention, transformation, and presence.
Teaching Neurographic Art in an Art Class
Neurographic art is a useful lesson for students because it removes the fear of drawing “wrong”.
Everyone can make a line. Everyone can round an intersection. Everyone can choose color.
For teaching, give clear limits:
Use one sheet of paper
Begin with 3 to 5 lines
Round all intersections
Use only 3 colors
Work in silence for part of the lesson
End with reflection
A good classroom prompt is:
“Draw a line that shows how your mind feels today. Then slowly transform the drawing into something calmer.”
This makes the exercise personal without forcing students to explain private feelings.
Is Neurographic Art Therapy?
Neurographic art can feel therapeutic, but it is important to use the word carefully.
Many people use neurographic art for relaxation, mindfulness, stress relief, journaling, and emotional reflection. It can support calm and self-awareness.
But if it is used as therapy for trauma, anxiety, depression, or serious emotional distress, it should be guided by a qualified therapist or trained professional.
As a personal art practice, neurographic art is best understood as meditative drawing. It can be meaningful and supportive, but it is not a replacement for medical or psychological care.
A 15-Minute Neurographic Art Practice
If you want a short practice, try this:
Minute 1: Sit down, breathe, and choose one word.
Minutes 2–3: Draw your free lines.
Minutes 4–9: Round every intersection.
Minutes 10–12: Thicken and connect selected lines.
Minutes 13–14: Add simple color.
Minute 15: Look at the drawing and write one sentence about how you feel.
This is enough to begin.
You do not need a long session. A small drawing can shift your attention.
Final Thoughts
Neurographic art is one of the easiest ways to begin a meditative art practice. It does not ask you to draw beautifully. It asks you to stay with the line.
You begin with movement. You meet the crossings. You soften what is sharp. You connect what is separate. You add color. You breathe.
The result is not only an abstract image.
It is a record of attention.
And every time you return to the page, you practice the same quiet skill:
Turning chaos into connection, one line at a time.