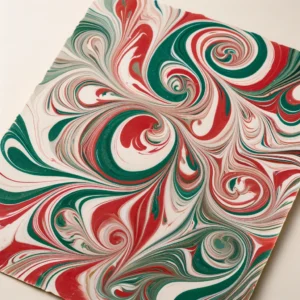
Here’s a step-by-step guide to making marbled Christmas cards or wrapping paper using simple techniques that create beautiful, one-of-a-kind patterns:
Materials:
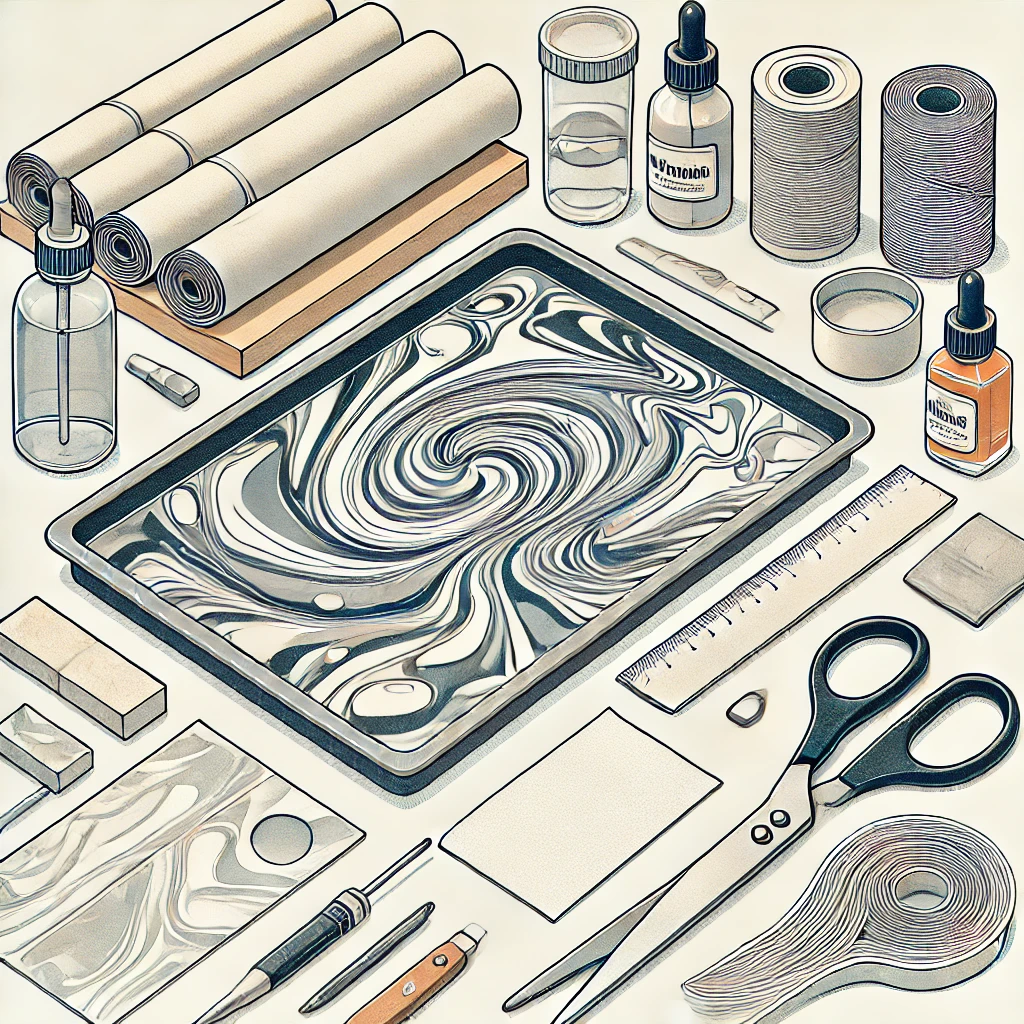
- Thick paper (e.g., watercolor paper or card)
- Bowl or shallow tray (large enough to dip the paper)
- Warm water
- Oil or acrylic paints (or specialty marbling paint)
- A pipette or small spoon
- Toothpicks or a fine brush
- Rubber gloves (optional, to keep paint off your hands)
- A place to dry the paper, e.g., a drying line or rack
- Newspaper or paper towels to absorb excess water and paint
Step-by-Step Marbling:
Prepare Your Materials
Fill the bowl or tray with warm water. Make sure there’s enough water so the paper can be dipped without touching the bottom.
Cut or trim your paper to the size you want for your cards or wrapping paper.
Prepare the Paints
If you’re using oil or acrylic paints, thin them slightly with a bit of turpentine or water so they float more easily on the water’s surface.
You can also buy special marbling paints that are ready to use directly in the water — they’re easy to work with and give beautifully defined results.
Add Color to the Water
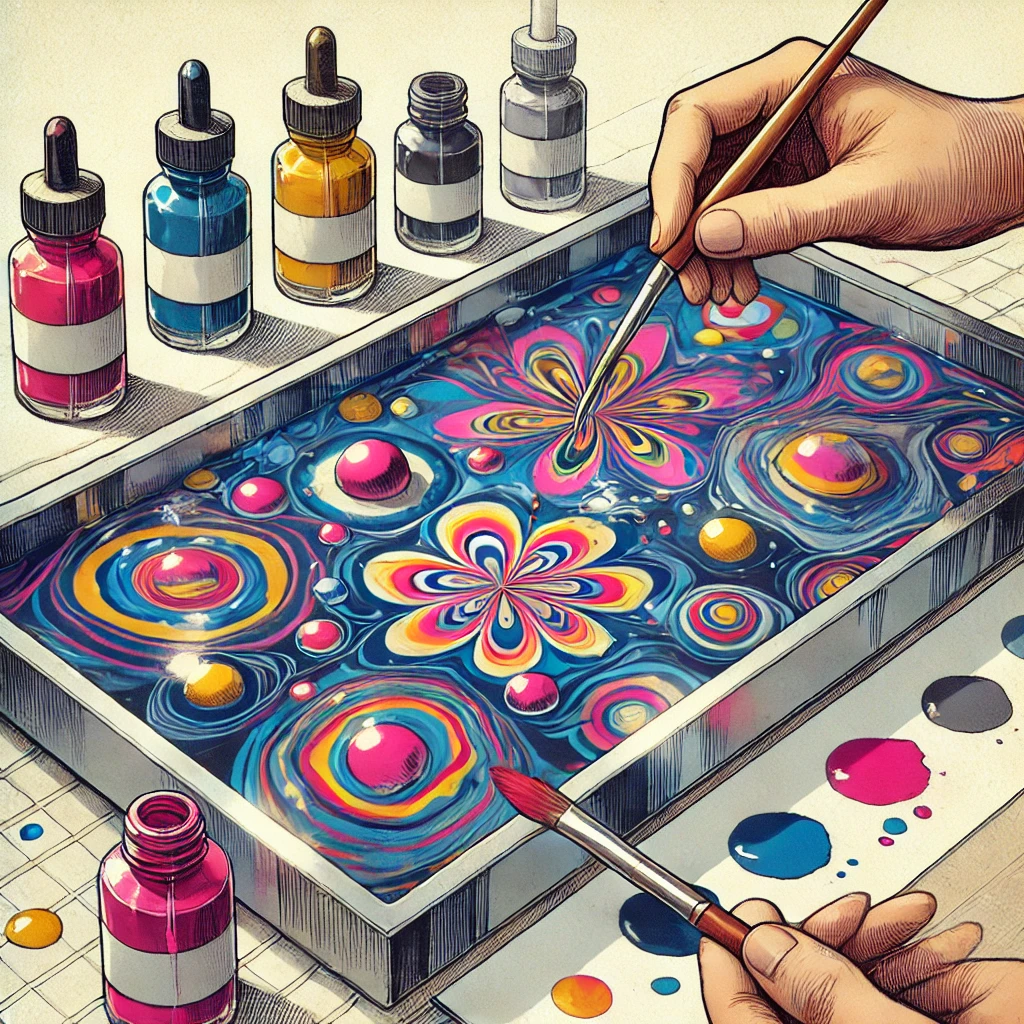
- Use a pipette or small spoon to gently drip small amounts of paint onto the surface of the water. The drops will float and spread across the top.
- Add more colors to create a vibrant, multicolored surface.
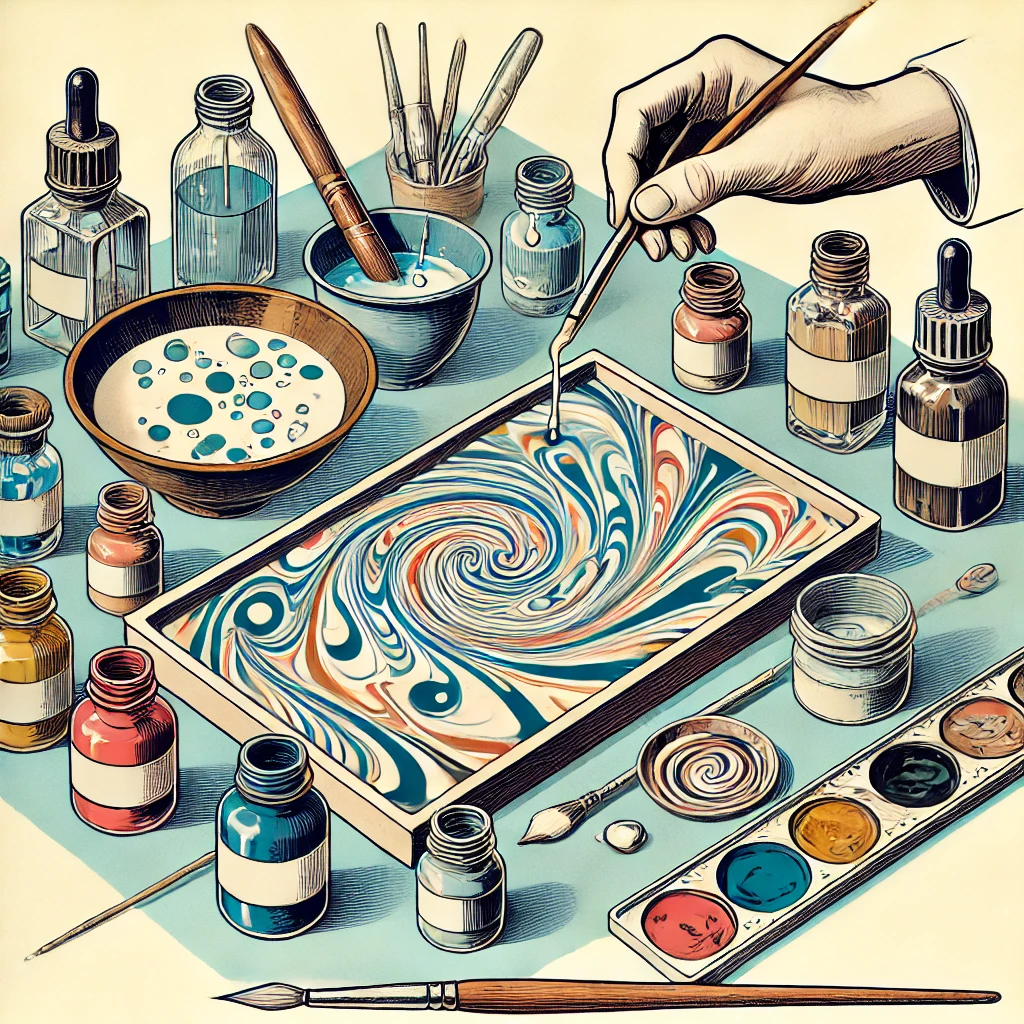
Create the Marble Patterns
- Use a toothpick or fine brush to gently drag through the paint on the water’s surface. Make curved lines, spirals, or zigzag shapes to form different marbled effects.
- Keep a light touch — too much movement can blend the colors too much. The goal is to create a fluid pattern where the colors stay distinct.
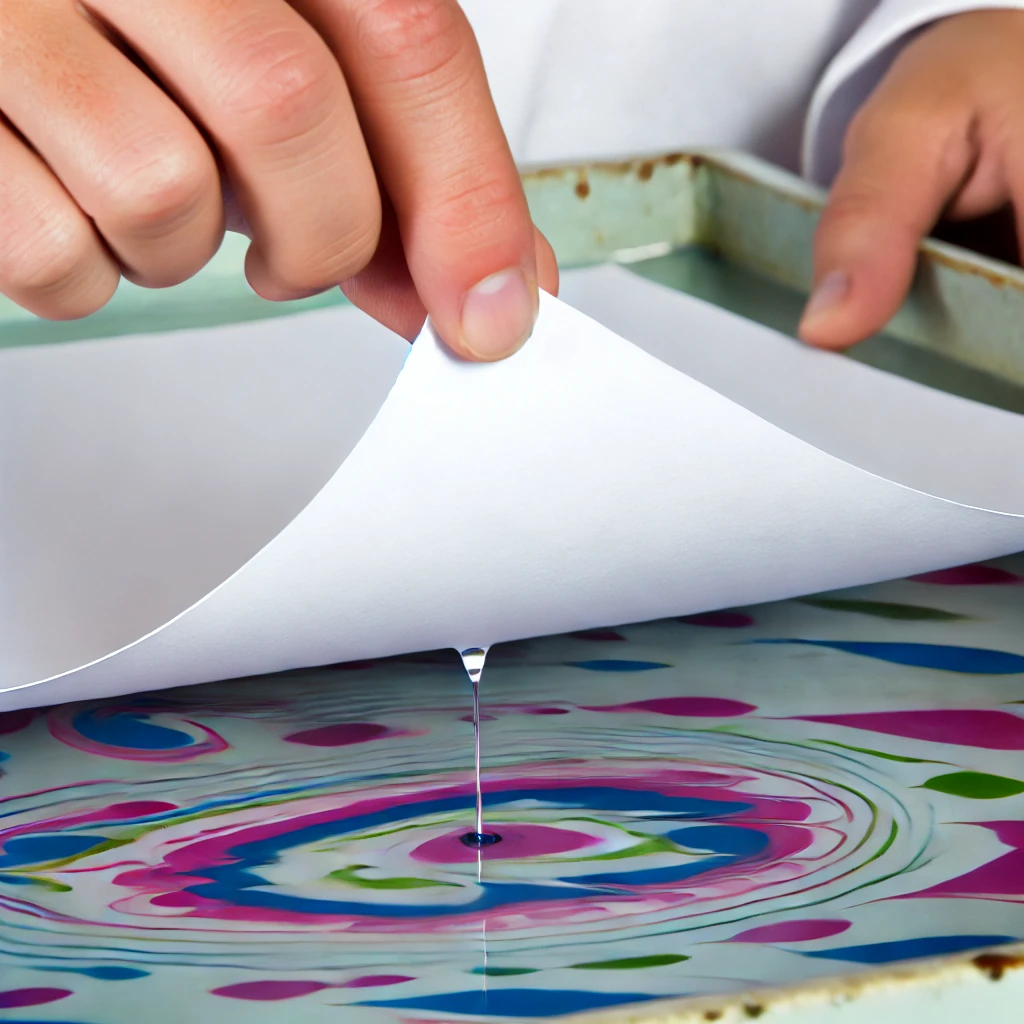
Dip the Paper
- When you’re happy with the pattern on the water, slowly and evenly dip the paper onto the surface. Make sure it touches the water completely so it captures all the colors.
- Gently lift the paper after a few seconds — the pattern will transfer onto it beautifully.
Dry the Paper
- Let the paper drip over the bowl, then lay it flat on newspaper or paper towels to dry. It’s important that it dries completely before use.
- You can also hang it on a drying line with clips to keep it upright while it dries.
Tips
- To make multiple sheets, simply repeat the process and add new colors to the water. Each print will come out unique.
- Experiment with different color combinations and patterns to find your favorite look.
- For richer colors, dip the paper again in a new color mix.
- Use marbled paper as backgrounds for Christmas cards, gift wrap, or even small framed artworks.
- When working with larger sheets for wrapping paper, use a bigger tray or bowl to ensure the paper is fully covered.
Now you have beautiful, one-of-a-kind marbled papers ready for all kinds of creative projects!